Steps to Enable Data Enrichment for Marketo with Marcom Robot
In this online integration guide, you'll learn how to enable data enrichment, business email and phone validation for Marketo using Marcom Robot Data Enrichment Engine.
This step-by-step integration guide explains how to integrate Marcom Robot Data Enrichment Engine with Marketo through the API. At Marcom Robot, we have been dealing with various organizations and teams. While we did our best to put together a comprehensive document that would describe the entire integration process and requirements, we understand that you may have additional questions or simply need help. Supporting our customers at every step of the integration journey and beyond is our commitment.
In case you need data enrichment for Marketo, and have any business and/or technology-related questions, do not hesitate to contact your account manager at Marcom Robot. You can also use the Contact Us form on the website, and we’ll be in touch with you asap.
1. Creating a webhook
To kick-start the integration, you’ll need to create a “Webhook” in your Marketo instance. Here’s how you do it: Here’s how to find your “Active API Key”:
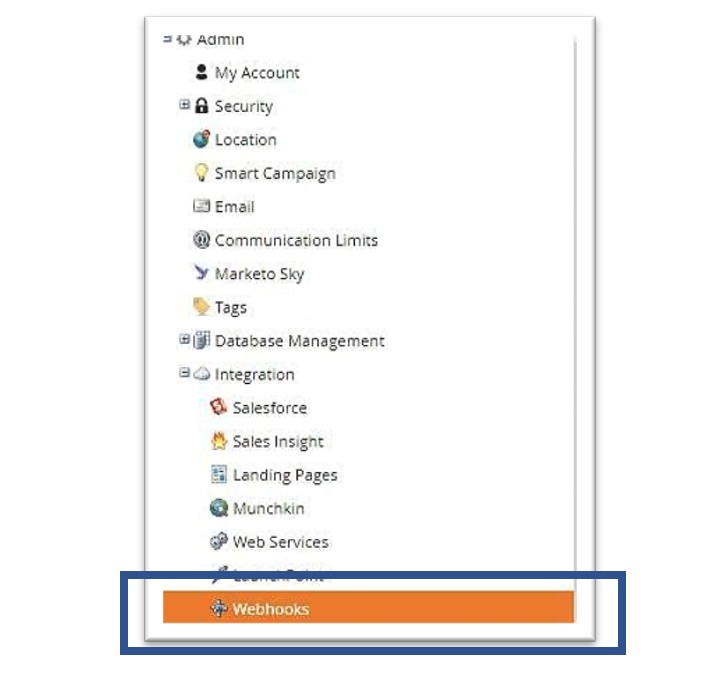
- Log in to your Marketo account, open the “Admin,” and you’ll see the “Webhooks” item. Go ahead and click it.

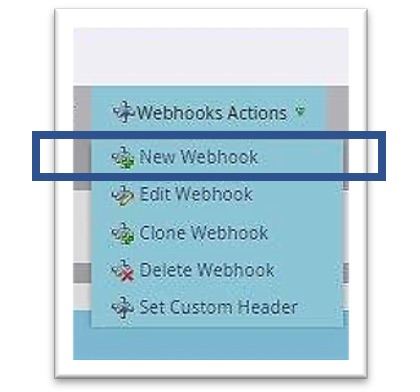
At the top, you’ll see the “Webhook actions” dropdown list. Expand the dropdown list and click “New Webhook.”

Upon clicking on the “New Webhook” option in the “Webhook Actions” menu, you’ll see a “Webhook Details” screen, where you’ll see a list of fields you’ll need to fill in the information:
- Webhook Name: You can put any name here
- URL: https://api.marcomrobot.com/v1/enrichment/email/{{lead.Email Address}}
- Request Type: GET
- Request Token Encoding: Form/Url
- Response Type: JSON
.jpeg)
• After you created the “New Webhook,” hover over the “Webhook Actions” dropdown list and click “Set Custom Header.”
.jpeg)
You’ll see a “Set Custom Header” screen pop up. You’ll need to fill in the following information:
- Header: Authorization
- Value: Bearer (your API key from MARCOM Robot personal cabinet)
.jpeg)
Here’s where you can find your API key – log in to your MARCOM Robot account, select Data Quality Engine. Your API key is located under the “Usage” dashboard.
.jpeg)
The next step is setting up the mapping of fields that you’ll be populated with the enriched data from MARCOM Robot. There are two options:
- Using existing fields
- Creating new fields
Regardless of the option you end up choosing, you need to set up the mapping of the field. To do that, you’ll need to first click “Edit” in the “Response Mapping.”
.jpeg)
Second, you’ll need to map the fields between the MARCOM Robot Data Quality Engine and Marketo Field.
.jpeg)
2. Creating a list for data enrichment
To call for the “Webhook” that you’ve created on the previous step, you’ll need to create a “List.”
• Open up the main menu and click “Database.”

• Right-click the folder and click “New List” and give it a name.
.jpeg)
3. Creating a campaign and adding it to the list
To proceed with your integration, you’ll need to create and add a “Campaign” to the “List” that you’ve created at the previous stage.
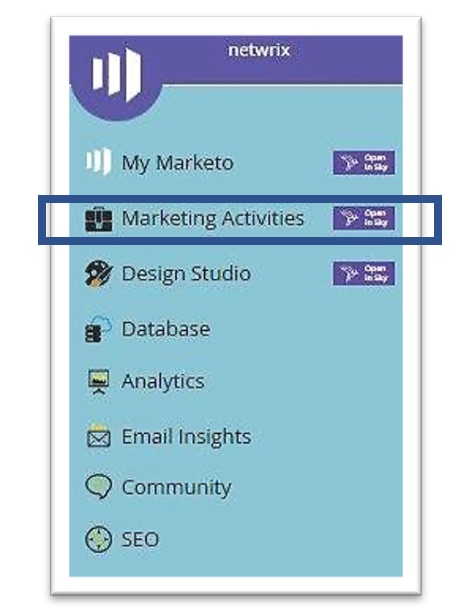
- Open up the main menu and click “Marketing Activities.”

- Create a “Smart Campaign.” As a “Trigger,” you can specify “Lead Creation” or any other criteria.
.jpeg)
- In the “Flow” of the “Smart Campaign,” at the “Add to List” step, you’ll need to specify the name of the list that you have created at the previous step (Step 2—creating a List for Enrichment).
.jpeg)
- IMPORTANT: Do not forget to activate the campaign that you’ve created.
4. Creating a campaign to call the webhook
At the very last step of setting up the integration, you’ll need to create a campaign to call the “Webhook” that you have already established at the previous steps.
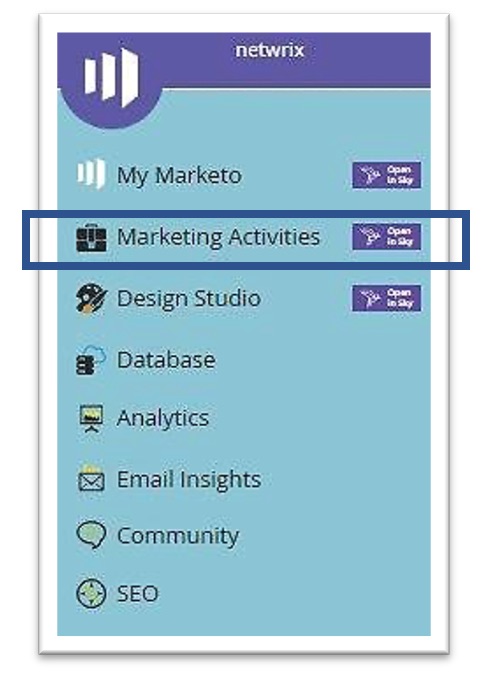
- Open up the main menu and click “Marketing Activities.

- Create a new “Smart Campaign.” As a “Trigger,” you’ll need to specify “Added to List.” In the details of the trigger, you’ll need to select the list that you have created at the previous stages.
.jpeg)
- In the “Flow” of the “Smart Campaign,” you’ll need to add “Call Webhook” as a step and specify the “Webhook” that you’ve created earlier.
.jpeg)
- IMPORTANT: Do not forget to activate the campaign that you’ve created.
.jpeg)


.png)
.png)
.png)
.png)


.jpg)


.jpg)


.jpg)
.jpg)


