Website Tracking
In this quick tutorial, you’ll learn how to add the Marcom Robot Tracking Code to your website and start monitoring your visitors' behavior through the Marcom Robot Automations platform.
Why Adding Marcom Robot Tracking Code to Your Website?
Marcom Robot constantly monitors the behavior of your website visitors—the pages they go to, the forms they fill out, etc. This is only possible once the Marcom Robot tracking code has been added to your website.
How to Add Marcom Robot Tracking Code to Your Website
Step 1: Navigate to Setup
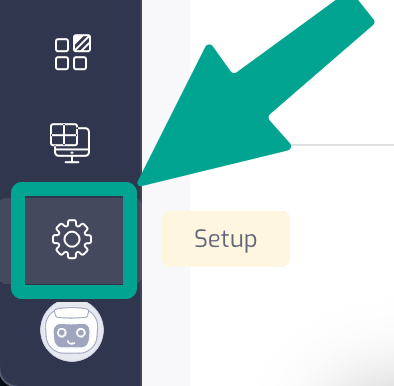
Log in to Marcom Robot and click the “Setup” icon in the bottom left-hand corner. A Setup menu will appear.

Step 2: Enable Website Tracking
Click the “Website Tracking” section of the “Setup” menu, and then click “Enable”.
.png)
Step 3: Add Your Domain
insert your domain into the “Domain” field, and click “Add” ( i.e. acme.com). In this step, you’ll also need to decide whether or not you’d like to track any subdomains on that domain, i.e. trial.acme.com. Simply check the “Wildcard Subdomain” or keep it unchecked. Click “Continue” once you’ve finished.
.png)
Step 4: Select Record Settings
Now, it’s time to make sure your website visitors who submitted your website forms or created an account on your website get stored in Marcom Robot automations.
- By default, identified website visitors store them as “Contacts”
- Alternatively, if you’d like them to get stored as “Leads,” make sure you have enabled “Leads in the Organization Settings first.
Once you’ve made that decision, click “Update” and then “Continue.”
.png)
Step 5: Add Marcom Robot Tracking Code to your website
You’re almost done! The only thing that’s left is adding the Marcom Robot Tracking Code to your website. You may need to ask your website administrator or IT department to help place the snippets of code correctly.
- Head Part: Add code at the end of the <head> tag
- Body Part: Add code before </body> tag
.png)
P.S. If something’s not working out for you, please contact us, and we’ll provide all necessary assistance.


.png)

.png)
.png)
